Whill battery hack night at General Lithium
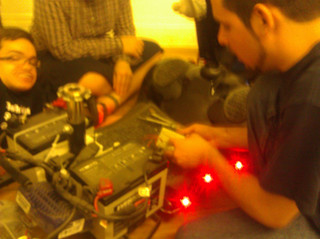
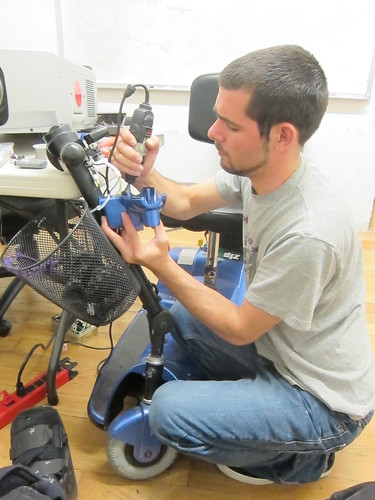
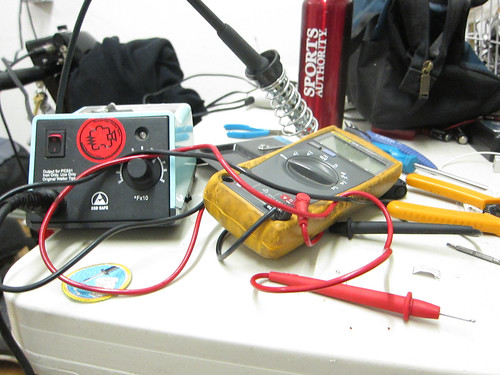
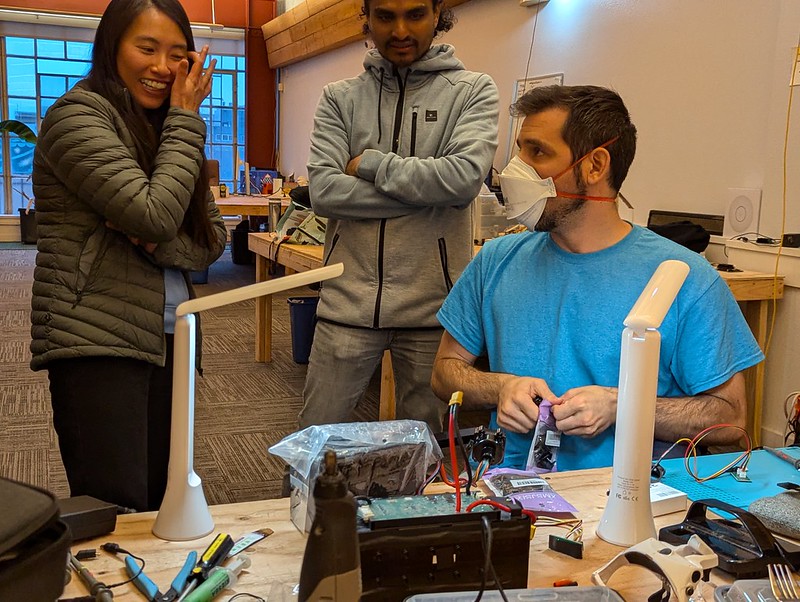
This week we held a little powerchair hack night with GOAT, Justin from General Lithium, CriptasticHacker and associates from Spokeland, Morgan from CIL, and more friends, to explore the battery technology of Whill Fi and Ci powerchairs. A Ci battery teardown is in progress along with an investigation into the Fi and its charger.
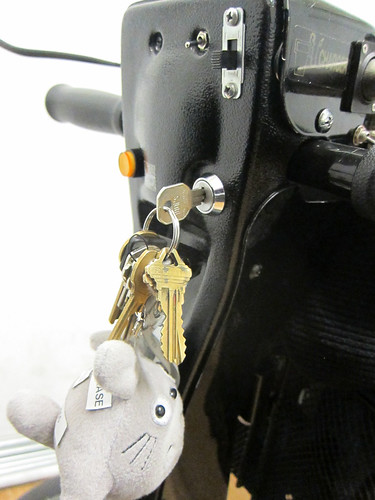
There was also knitting, and an adorable small support dog on a fluffy cushion. I had a cool moment realizing how many of us knew, or had worked with or learned from, John Benson (aka, Cripple A). I was thinking John, a fabulous human being, should get an award, and Morgan said, what he would really like is a parade. My mind took off with this great idea! What if we had a fabulous parade in his honor, with musical instruments and punk marching bands and a zillion wheelchair users zooming around?! We will also hopefully see him and some other repair and DIY wizards at our upcoming events!
We didn’t do any formal talks or introductions, but CriptasticHacker kicked off by talking about one of his finished projects, the WBSW, Wheelchair Battery Spot Welder!
We have learned some things from cracking apart the Ci battery.
– It has hidden screws under the bottom corner pieces
– You still have to pry it open with a screwdriver and mallet
– The battery is encased in several layers of totally sealed plastic for waterproofing
– And under that it is podded, 5/6ths encased in rubbery gel stuff so you can’t really take it apart and hack it well.
– It has 1/4 kWh
For the Ci, our best option to soup it up (as it has fallen out of warranty and parts don’t seem to be readily available!) may be adding a new battery or batteries, which we could do for about $400 per kWh. We could easily fit 2 of those under my seat in the undercarriage basket. Then those could hook up to a new replacement (V)ESC (Electronic Speed Controller) which we then connect to the motor (managing the voltage etc. so it will be compatible).
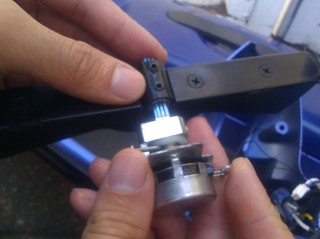
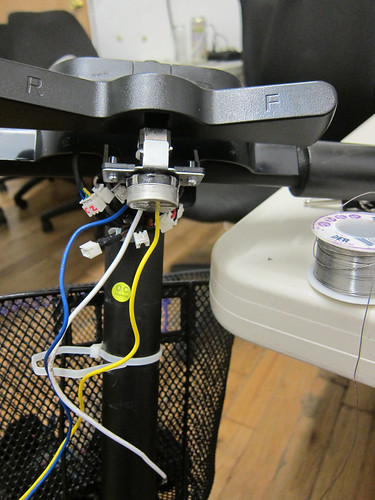
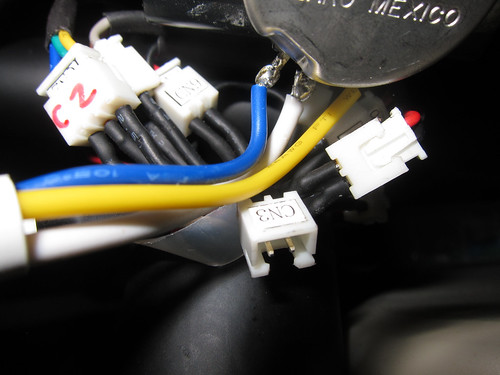
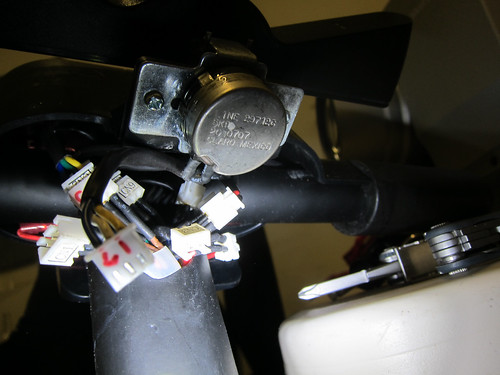
For the Fi, we were able to access it a bitbetter and Zach, Henner, mjg, and others had a look with digital microscope, logic analyzer, etc. To figure out what is going on with the power management . Zach will describe all that on his hackaday.io page!
It was interesting to see the different approaches in play at the various workbenches. The laborious and intensive work needed for detailed understanding and reverse engineering is in some ways a philosophical stance, of learning, reuse, and conservation, but in other ways, a factor influenced by resource constraints. In other words, necessity is the mother of the meticulous teardown! The people with capital, on the other hand, had less patience with this approach and were ready to throw resources at a problem, and use new (or repurposed) stuff to do complete workarounds, or simply throw it all out and invent something new that would be more rapid to get working, even if unlikely to be elegant or refined in the first prototype.
There was a long discussion on how to make a kit to convert manual chairs to power with Justin and Morgan. To that I added some wild eyed ideas but also a pointer to these interesting, cheap, DIY open source wheelchair designs and to Whirlwind Wheelchair. We see people every day in the Bay Area who are struggling with clunky or broken chairs. It is a good topic for future exploration – what other conversion kits are out there? What were the problems and pitfalls? How feasible is it to to come up with a maintainable, cheap, design for such a thing?
I learned during the event that ESC (pronounce the letters in it) is an electronic speed controller (the thing I normally just call “motor controller” with a vague handwave.) VESC, frequently mentioned by our hardware hackers, is a particular technology – or we could call it a movement – that I think looks amazing – for “flexible, efficient, and reliable power systems for your platform”.
Another cool nexus of ideas that came up: Whill chairs come with Bluetooth and a phone app. You can control the chair from the app, configuring it with one of three pre-set acceleration curves. Could we write a new app to communicate with the chair and program it in different ways?
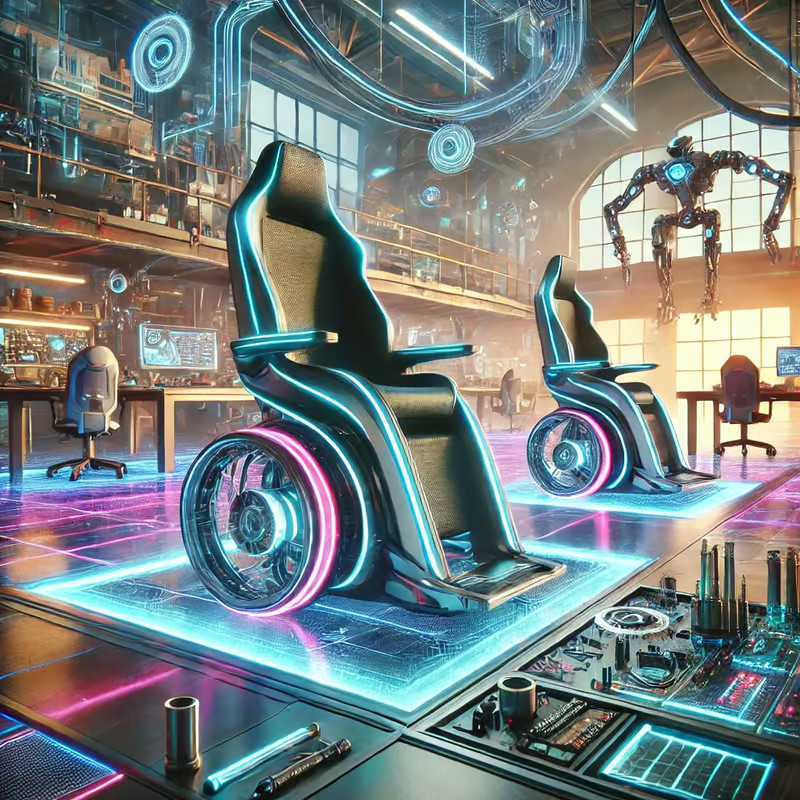
You can also steer the chair from a phone or tablet screen via Bluetooth. I have never actually used this feature. But we can see that airports are starting to explore using Whill chairs on auto-pilot, to take passengers to their gates. Using programmed routes but also LIDAR, like robot cars! That put a gleam in several people’s eyes. Actually, it put a whole range of different and hilarious facial expressions on everyone’s faces!
And as one more note for future investigation: The chairs also appear to log and send diagnostic information to the manufacturer. I’d certainly like to see that traffic! I wonder if it is encrypted and what the heck it is sending!
I’m really looking forward to Grassroots Open Assistive Tech hosting more electronics and hardware tinkering nights, as well as other DIY gatherings!
Overheard:
(just for fun – it was a lively event!)
“I’m so impressed with the fact that you bypassed the VMS…. Expert move”
“….. and then it would explode!”
“That motorcycle [points to motorcycle in a giant pile of e-bikes] has a battery bigger and more powerful than a tesla powerwall. and it goes 160 miles an hour! [gleeful laughter]”
“You can control it via bluetooth? Woah!! That’s my kink!”
“There are no standards for bike wheels, so there are 4 different kinds of 26 3/4 wheels and none of them work with the others!”
(Justin): “I’m gonna take your 1/4 kWh battery and give you THREE kWh. We can just strap the batteries under your seat.”
(me:) “Oh, great! I’ve always wanted to be launched into fucking SPACE with my ass on fire!”
“Is this illegal?” “No surely not!” “Well, maybe? But we’re just taking things apart, and looking at how it works! How can that be illegal?”
(FYI: This can be a complex question! You may want to read this Coder’s Rights Guide from EFF as a starting point. )

Thanks to everyone who showed up, chatted, tinkered, and especially thanks to our congenial hosts, General Lithium – they are a battery tech company, but they also have a nonprofit wing that runs this maker/coworking space in the heart of San Francisco. Have a look at their events page and membership information!